Improved notification handling, Focus modes, and revamped apps like Weather and Maps are among the significant changes in iOS 15.
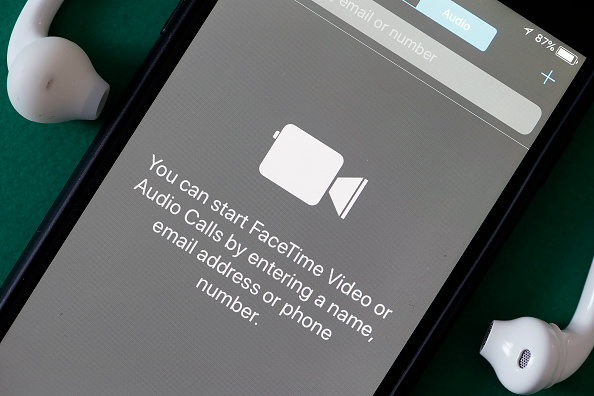
However, the redesigned FaceTime experience, which now includes screen sharing, Windows and Android access, and more, is perhaps the most significant update in iOS 15. While an Android app has long been demanded, iOS users may generate a link to a FaceTime call that can be accessed using a conventional web browser on a mobile or desktop device.
The web app does not have all of the functionality that iOS 15 brought to FaceTime, but it can share your screen with the help of a third-party program.
How to Screen Share on Facetime When Using a Windows PC
OBS (Open Broadcaster Software) is an open-source tool for recording and live-streaming video from a range of devices to practically any platform. The "VirtualCam" plug-in will allow the software to appear as a regular webcam in other apps, and it was recently merged into the main release of OBS.
With OBS, we can connect a Windows device to a FaceTime call and share our screen.
Read Also: Apple's New iOS 15 - Everything You Need to Know
All you need to do is download and install OBS on your PC to get started.
1. When you first launch OBS, you'll be confronted with an Auto-Configuration Wizard.
OBS is a powerful piece of software that appears sophisticated at first glance, yet using it as a virtual camera is straightforward. Simply check the box that says, "I'll only be utilizing the virtual camera." Click next, and OBS will offer the best quality settings for your PC.
2. Select the "+" under sources and then Display Capture to begin capturing your display. The "Create Source" window will appear after that. To make a new display capture, simply click OK.
This will open a new tab in your browser. If you have numerous displays connected to your computer, choose the one you want to capture from the "Display" drop-down menu, then click Okay.
You may need to alter the size of the display capture to fit the window depending on the resolution of your display. Simply click and drag on the red corners to make it work, then click "Start Virtual Camera" in the bottom right corner.
3. In FaceTime, you can choose to take a screenshot of the screen.
To open the settings after joining a FaceTime call from a link on a Windows computer, click the three dots in the lower left-hand corner. To begin sharing your screen, go to the camera and pick "OBS Virtual Camera."
4. Before transferring the video through FaceTime, FaceTime automatically crops the non-square video to make it square.
You can shrink the screen capture in OBS even further to show the entire screen. However, black bars may appear on the top and bottom of your movie, so it's a matter of personal preference.
By following our guide, you will have the opportunity to share your FaceTime screen through your Windows PC!
Related Article: Apple Faces Lawsuit; Products Violate the MIMO Wireless Technology Patent, Says XR Communications
This article is owned by Tech Times
Written by Fran Sanders


