There is nothing more annoying than a corrupted flash drive that contains all your important files. But don't fret and don't throw your drive too soon! You can still retrieve your files through these steps!

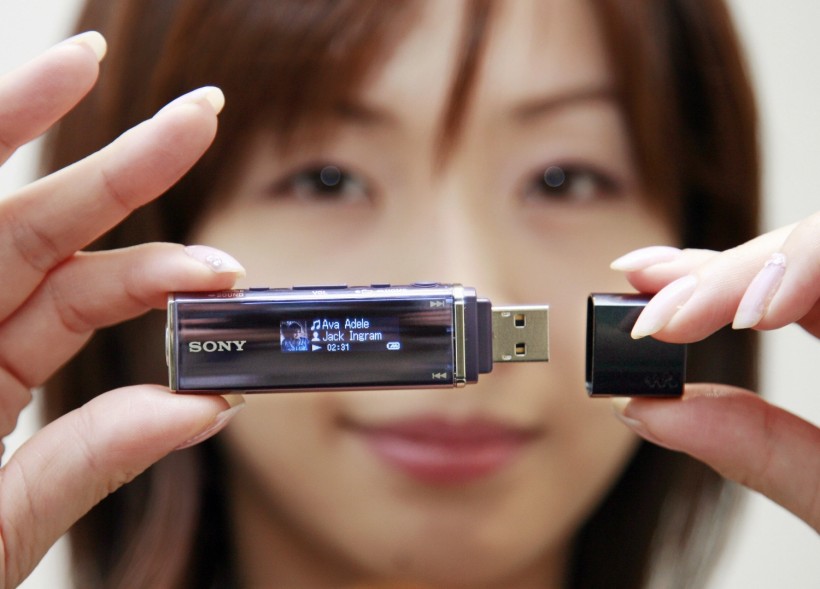
(Photo : YOSHIKAZU TSUNO/AFP via Getty Images)
Tokyo, JAPAN: Eiko Sato, employee of Japan's electronics giant Sony, displays a new digital audio player shaped like a lipstickcalled the "Walkman NW-E016", equipped with 4GB flash memory, direct USB connector and a color LCD display which can display a picture of a CD jacketand with a weight of 29g, at the company's headquarters in Tokyo 18 April 2007.
Read Also: A Brief Guide on Why You Should Convert to a USB-C Charger
#1 Retrieve Files from a Backup
Do you remember creating a backup for your USB flash drive? Browse thoroughly through your files and you might find them backed up, Word files for example back up old documents that you can see in the app.
But if you have backed up every file, retrieving files would be easy.
Fortunately for you, there is an app that can recover your files and it's called Disk Drill, which could possibly create a full backup image of one's storage device.
Once you download the app, follow these steps:
- Launch Disk Drill.
- Select the Attach disk image option.
- Choose the backup image of your flash drive.
- Click the attached image and click Search for lost data.
- Scroll through the list of retrievable files and choose the ones that you want to recover.
- Finally, click the Recover button and choose the location where the recovered files will be placed at.
#2 Enable the ATTRIB Command
The corruption of your flash drive could vary in many forms. One example is that can cause file attributes to change and make the files invisible. But if this is the case, the problem can easily be fixed with this command.
- Press Win + X on your keyboard.
- Start Windows Terminal, PowerShell, or CMD and make them as administrator.
- Enter these commands: ATTRIB -H -R -S /S /D X:*.* (replace X with the letter assigned to your flash drive) to retrieve hidden files.
- Leave the Command Prompt and check your USB drive in File Explorer.
#3 Enable the File History Feature
Windows has a special backup tool called File History, it enables the user to backup a custom folder in the File History, even the ones that are located in the flash drive.
But if you are using Windows 11, this may not be helpful for you since its version of File History only backs up files located in the Libraries, Desktop, Favorites, and Contacts.
If, however, you are a Windows 10 user and have added your USB drive in the File History backup location, you can follow these steps!
- Go to the classic Control Panel.
- Go to System and Security and select File History.
- Select the Restore personal files option in the left pane.
- Browse through the location of your lost files and select them.
- Once you find the green Recover button, click it and you'll have your files restored!
#4 Use the Windows File Recovery
Windows File Recovery is a new data recovery feature released by Microsoft, which operates on Windows 10 2004 and above.
The feature is still in its early phases and it still lacks a graphical user interface. It is also worth noting that it does not support many file signatures as leading data recovery products like Disk Drill.
But the good news is that this app is for free from the Microsoft Store. It can still be helpful in retrieving an unlimited number of files from your storage devices and flash drives.
Once you downloaded the app, follow these steps:
- Enable the Command Prompt or Windows Terminal.
- Enter this command: C: winfr X: C:\Recovered\ to retrieve your deleted files.
Related Article: USB Vs. Google Drive Vs. Dropbox: Which Data Storage Option Is Best For You?
This article is owned by Tech Times
Written by Joaquin Victor Tacla


