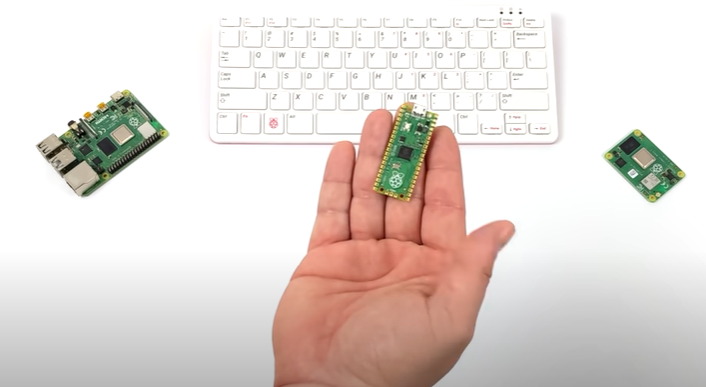
The Raspberry Pi Pico is a low-cost, high-performance microcontroller board, It has flexible digital interfaces and it is very small but powerful. The board offers users the chance to develop projects that are both great and small.
One type of project that this microcontroller board is good for is robotics, but that needs to be paired up with motors. You will need to control DC motors with a Raspberry Pi Pico to get your project going.
Most questions of developers is if it is possible to connect Raspberry Pi Pico directly to the GPIO. The answer is no.
The GPIO pins of the Raspberry Pi Pico can't deliver the current need for a DC motor to start a robotics project, and if you were to try, there is a pretty good change that you would damage the Pico in the process.
Instead, you will need a motor controller that will serve as a bridge between the Pico and the motor, according to Tom's Hardware.
In that way, you can turn two Pico GPIO pins on and off and they control the motor controller, which will then also turn on and off two outputs, thus making the motor move, according to Circuit Digit.
Raspberry Pi Pico with DC Motor project
For this project, you will need a Raspberry Pi Pico that is running a MicroPython, according to MakePortal.
You will need Thonny installed on your computer, 4 x male to male jumper wires, a half size or a full size breadboard and a motor controller board. As for the motor controller board, you can use a DRV8833 chip, but the L9110S or L298 chips will do too.
You will also need a 5V/ 6V DC Motor. You can use a micro gear metal motor, but the DC hobby motor will work too. The motor needs 2 x male to male jumper wires in order to connect it properly to the breadboard.
How to setup DC Motor with Raspberry Pi Pico
Most of the chip that is used for this type of project is a DRV8833, as for the breadboards, there are many other version that you can use including a version that is made for embedding in robots.
There are also other motor controllers on the market, like the L9110S and the L298D, which are both simple to use and very affordable to use for robotics projects.
Also, all motor controllers have the same input and output conventions.
So how do you set them up? First, place the Raspberry Pi Pico into the breadboard, make sure that the micro USB port hangs over the end of the breadboard. Then place the DRV8833 motor controller into the breadboard, make sure that the pins are placed on either side of the central channel.
Next, connect the VBUS pin of the Raspberry Pi Pico to the VCC pin of the DRV8833 by using a jumper wire. When you do this, it will power the motor controller straight from the 5V supplied through the USB.
Connect the Raspberry Pi Pico GND pin to the GND pin of the DRV8833. Then connect the GPIO 14 of the Raspberry Pi Pico to IN1 of the DRV8833. After which, connect the GPIO 15 of the Raspberry Pi Pico to IN2 of the DRV8833. Lastly, connect OUT1 and OUT2 to the pins of the motor.
Related Article: Raspberry Pi Pico Projects, Tutorials and Specs: How to Use for Coding, MicroPython and C/C++
This article is owned by Tech Times
Written by Sieeka Khan
ⓒ 2025 TECHTIMES.com All rights reserved. Do not reproduce without permission.


