
How to Set Up Your Camera: Insights and Tips for Beginner Photographers
To take stunning photographs, you must first understand the fundamental features that can enhance your photography. A little exploration of your camera settings can open up a whole new realm of imagery beyond automatic mode.
Let this article be your guide to key insights into the techniques needed to capture perfect photographs. It covers all the basic principles of photography and digital camera settings, starting from various shooting modes to focusing options and white balance.
Basic Digital Camera Settings for Professional Photography
When it comes to camera settings, what should beginner photographers start from? It's recommended to go over four essential elements of running your camera: ISO, shutter speed, aperture, and white balance.
ISO
The first camera setting to consider is ISO, which some refer to as "fake light." ISO allows a photographer to digitally adjust the brightness or darkness of an image, regardless of the amount of natural light present. It's similar to the brightness bar on a cellphone, which can be adjusted to make your image brighter or darker.
ISO is measured on a scale from 100 up to 16,000. The higher the number, the brighter your image will be. However, a major drawback of ISO is that it also introduces noise and grain into the picture. To avoid this, it's recommended to keep ISO under 1,000. High ISO settings can create a vintage-style effect, but it's best to use them carefully to avoid unwanted noise in a photo.
Shutter Speed
Shutter speed determines how long the camera's sensor is exposed to light, and it works by controlling the opening and closing of the shutter in front of the sensor. This shutter functions like an eyelid for the camera, allowing the sensor to capture an image when it opens and take the picture when it closes. Many cameras make an audible sound when this happens.
However long the shutter remains open determines whether the resulting image is brighter or darker. If the shutter stays open for several seconds, your photo will be very bright, while a faster shutter speed will result in a darker image because it allows less light to reach the sensor.
Motion Blur
When taking a photo of a moving subject, shutter speed affects the exposure and motion blur. A faster shutter speed will result in a clear image with no motion blur, while a slower shutter speed will produce a noticeable blur.
For nature or landscape photography, a recommended shutter speed is around 1/160. It is fast enough not to get any motion blur but slow enough to allow sufficient light in for exposure. On the other hand, a slower shutter speed of around 1/15 can create a dreamy and surreal effect. If you're aiming for a hyper-realistic look, increase your shutter speed.
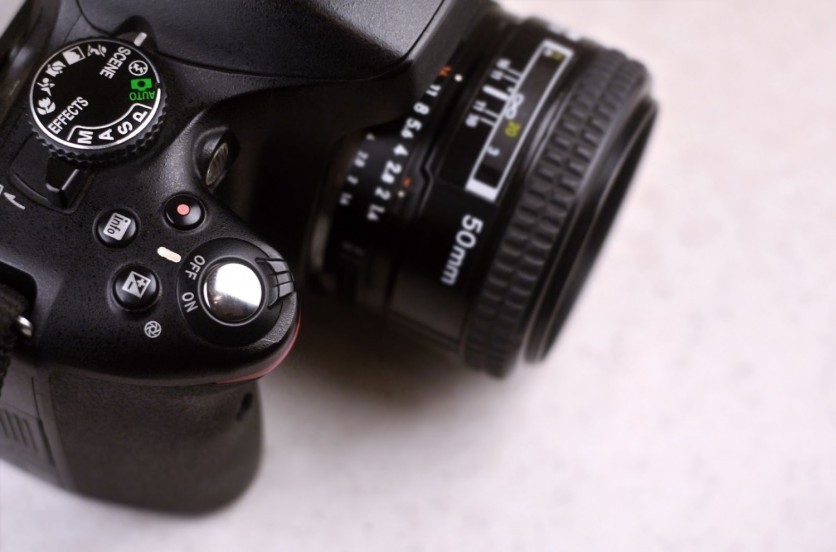
Aperture
The final aspect of exposure is the aperture, which functions as the camera's eye. It regulates how much the lens will open up and how much light will enter the camera. So, by changing the aperture, you can make your image brighter or darker without altering the ISO or shutter speed.
In addition to affecting exposure, the aperture also plays a crucial role in determining the depth of field or how blurry the background appears. A wider aperture (lower F-stop number) will result in a more blurred background and a smaller in-focus subject. The F-stop on your lens ranges from F22 to F1.8, with lower F-stop values producing more blur.
White Balance
Another essential camera setting to learn as a beginner photographer is white balance. This setting instructs your camera on what constitutes pure white, which, if not set correctly, can result in orange or blue tints in your photos, affecting all other colors as well.
Your camera offers different presets to achieve the right white balance, such as daylight, shade, cloudy, tungsten light, and white fluorescent light. You can select the preset that matches your shooting conditions. However, don't rely on auto-white balance, as it can produce inconsistent results; the camera independently tries to determine the appropriate color temperature.
Tips for Professional Camera Setup
Stick to Standard Settings
Be sure to set the following features for high-quality results:
Image Quality: RAW
Color Space: sRGB
High ISO Noise Reduction: Off
Long Exposure Noise Reduction: On
Active D-Lighting / DRO, HDR, Lens Corrections (Vignette Control, Chromatic Aberration Control, Distortion Control, etc.): Off
Picture Style / Picture Control / Film Simulation / Creative Style: Standard
Choose RAW Format
It's crucial to select the proper file format for photos, which is RAW. It captures all information from the camera's sensor without any compression or processing. This means that the image is not yet finalized and can be adjusted in post-processing with greater flexibility and control. You can adjust exposure, white balance, and sharpness. If the format offers various compression options, opt for Lossless Compressed since it significantly reduces the storage space required by RAW files.
RAW files also have a higher bit depth; they contain more color information and can represent a wider range of tones and hues. You get higher-quality images with more detail and depth. In contrast, shooting in JPEG format compresses and processes the image in-camera, which can result in a loss of image quality and less flexibility in post-processing.
When talking about Picture Controls, it's better to use a standard profile and not adjust any other settings such as sharpening, color space, contrast, or saturation.
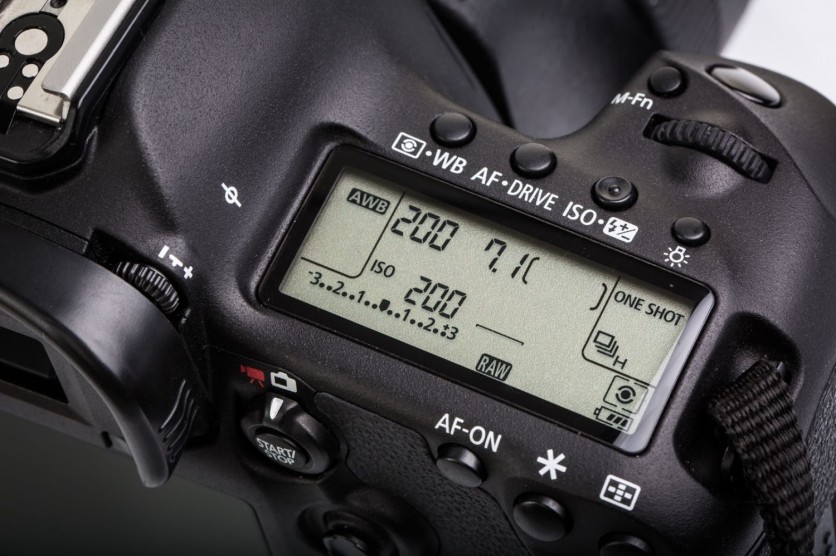
Set the Right Metering Mode
A metering mode in a camera refers to the way the camera measures the amount of light in a scene, all to determine the exposure settings for the photo. Different metering modes consider different areas of the frame to determine the exposure, e.g., the entire frame, a specific spot, or the center of the frame.
You can access several Metering Modes on your camera, such as Spot Metering, Matrix/Evaluative Metering, and Center-Weighted Metering. However, in most cases, it's better to choose Matrix/Evaluative Metering as the default mode. This mode takes the entire scene into account and does a great job of exposing the subject accurately.
Where Beginner Photographers Can Sell Their Visuals

As a novice photographer, you can easily get extra income if you know the right platforms to sell your photos as stock content. Moreover, by working with photo stocks, you can build and grow your portfolio. Submit images on different topics, seasons, and styles to cater to a wide range of clients and increase your chances of making sales.
Among the top stock content marketplaces for aspiring photographers is Depositphotos. With over 250 million royalty-free files and more than 29 million users worldwide, Depositphotos offers beginner-friendly terms for contributors. You just have to be over 18 years old and be the author of the uploaded files.
To begin selling your photographs on Depositphotos, follow these simple steps:
Visit Depositphotos and create a contributor account.
Upload a few of your best images for a quick examination. Once reviewed and approved by the platform's content curators, your photographs will appear in their library and be available for purchase.
Add relevant keywords and comprehensive descriptions to your files. This will help Depositphotos users find your visuals when they search for content using keywords.
Provide necessary documentation, such as property or model releases, so your images can be legally used for commercial purposes.
Conclusion
Making small adjustments to your camera settings can have a significant impact on your experience and image quality. These settings are easy to learn and apply, and should be the first things you do after unpacking your camera and before taking professional-grade pictures. Follow the tips presented in this article to set up your camera properly and start taking stunning photos.
ⓒ 2026 TECHTIMES.com All rights reserved. Do not reproduce without permission.


