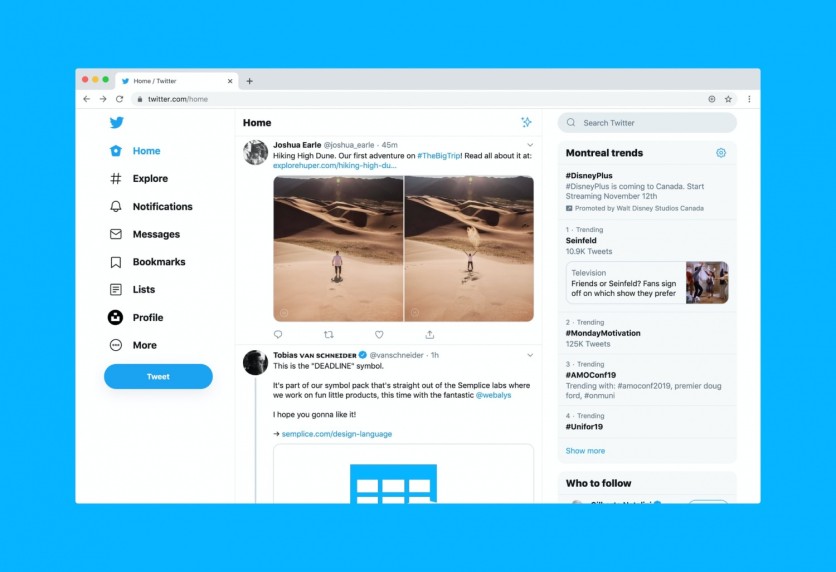
On Windows 10, you can pull a lot of tricks through various screenshot methods.
If you want a simple way, we got you covered. If you are into more challenges, we also have that. For now, we will show you the various ways on how you can take a screenshot on Windows 10 platform.
Top 10 Ways to Grab a Screenshot on Windows 10

From the easiest to the hardest technique, let's now discuss this tech guide by Business Insider.
1. Print Screen
This technique is the easiest method that you can try to capture shots on Windows 10. This method only makes use of a PrtScn command, which is located in your keyboard's upper right portion between F12 and Scroll Lock.
After pressing the key, go to Paint or Microsoft Word. Paste or Ctrl+V for the image to appear.
2. Windows + Print Screen
Like the previous method, this one is also easy.
The only difference is the command that you will click through a combination of Windows Key and PrtScn. Once you do that, your screen will go dim for a while. You can access the screenshot in Pictures then select the Screenshots folder.
3. Alt + Print Screen
You won't sweat with this one since all you have to do is to tap Alt+PrtScn. Make sure that you will paste the screen-grabbed photo to a compatible program.
Read Also: Chrome Built-In Screenshot Tool Launches on Android, Customer Share Menu to Replace System Default
4. Snip & Sketch
This technique might be different from the previous methods since there are lots of functions that can help you to take a specific screenshot with the desired shape. To do this, you only need to press Windows Key+Shift+S.
Just like the number two method, your screen will go dark for a few moments then an option will appear next to your screen.
Free-form - You can illustrate any shape using the cursor
Full-screen - Screen captures the whole screen
Window - Applicable to a specific window
Rectangular - Grab a rectangular-shaped picture
Upon screen-grabbing, you can now find the picture on the clipboard. You can now open the Snip and Sketch app if you want to edit the photo.
5. Snipping Tool
The Snipping Tool is applicable with previous OS, like Windows 7, 8, and Vista. In Windows 10, you can still use this screenshot tool. After opening the app, click "Mode" and select your screenshot pattern. Now, tap "New button" to begin screen grabbing.
You might want to set a timer through the "Delay" menu. The pictures from the Snipping Tool are shareable with Microsoft Outlook.
6. Game Bar
If you are familiar with Windows 10 gaming, you may already encounter this technique since it is commonly used when taking screenshots in-game.
The method is simple with this one: click the Windows Key and G simultaneously.
Don't forget to enable the Game Bar by clicking the "Record game clips, screenshots, and broadcasts using Game Bar" in the menu. To access the pictures and clips, go to the Videos and look for the Captures folder. Alternatively, you can also press "Show all captures" below the buttons for recording and screenshot.
7. Power + Volume Up
Pressing the Power button + Volume up button would do the trick for this technique. Once your screen goes dim, you can now go to the Pictures and select the Screenshots folder.
If you are using an old version, such as Surface 3 or its previous models, you can screenshot it by clicking the Windows logo and the Volume Down button at the same time
8. Third-Party Apps
Save the best for last since this part will help you grab a screenshot through several tools that you can use. Here are they:
Lightshot - To use this tool, first, you need to download and install it in your Windows. Say goodbye to the traditional print screen techniques that you know. You can also edit your pictures if you want.
Snagit - This screenshot app will not only allow you to grab pics but also you could make GIFs using it. However, there's a catch for this amazing feature: a $50 subscription. Anyway, if you want to try it immediately, you can go for its free 30-day trial, but every screenshot photo will have a watermark.
Greenshot - This tool works similarly to the two, but here, you can screenshot an entire web page easily.
Related Article: The Top 10 Features Of Microsoft Windows 10
This article is owned by Tech Times
Written by Joseph Henry
ⓒ 2025 TECHTIMES.com All rights reserved. Do not reproduce without permission.


